Before you start a Meta ads campaign, you need to know what to do at each step. This will help you plan your meta ads marketing better.
There are three levels to this meta ads process:
- Campaign
- Ad Set
- Ad
Every choice you make will affect the choices you have during this setup.
Let’s go over the steps involved in building a campaign from beginning to end…
Before you start a Meta Ads campaign, you need to know what to do at each step. At Softech Study, a leading Digital Marketing and IT Training Institute in Delhi NCR, we train students and professionals to master Meta Ads strategies effectively.
1. Campaign
The following stages and customizations happen within the campaign:
- Name the campaign
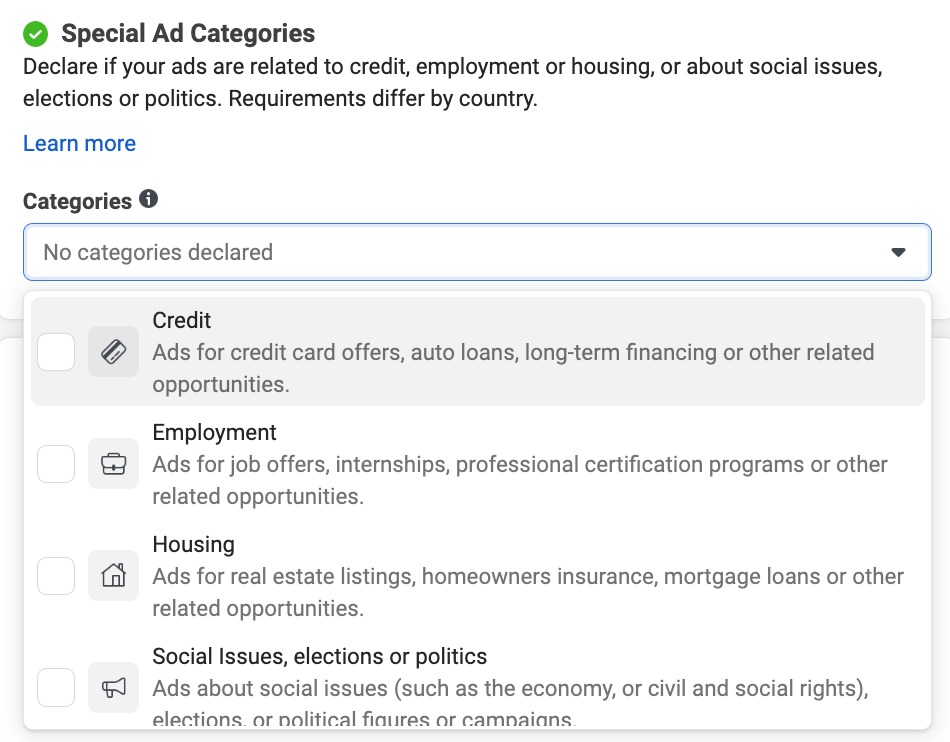
- Special Ad Categories
- Buying Type
- Campaign Objective
- Campaign Spending Limit
- A/B Test
- Advantage Campaign Budget
Firstly, name your campaign. This is just accessible to you, but I encourage you utilize this space to describe the purpose of your campaign and what you are doing at this level.

Next, indicate whether you are building a campaign that will promote a special ad category. While this will limit your targeting possibilities, this transparency will also make it less likely you will run into approval concerns.
The Campaign Details section offers parameters for Buying Type, Campaign Objective, and Campaign Spending Limit.
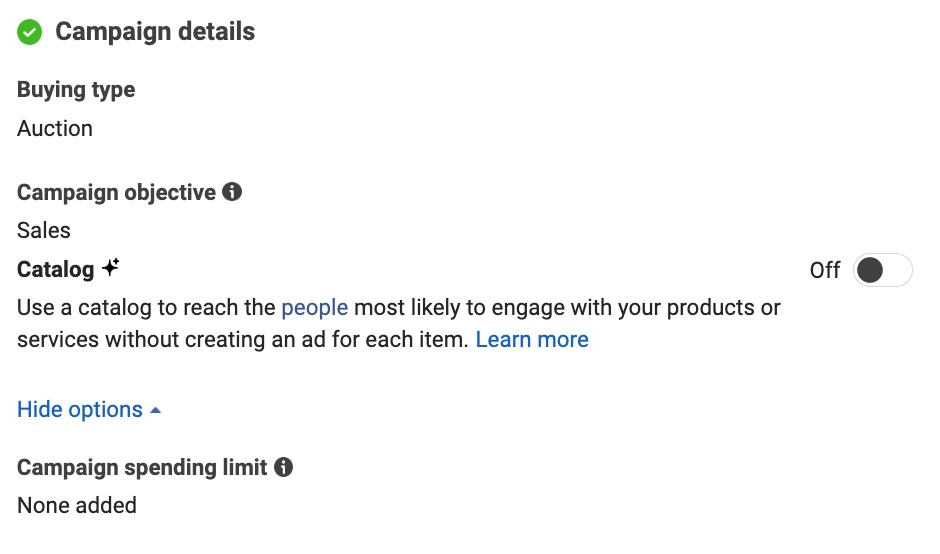
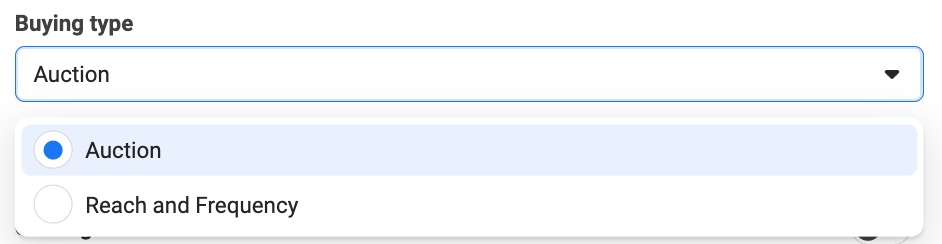
In almost all circumstances, you will use the default Auction buying type. Reach and Frequency requires a very huge expenditure.
You’ll have six possibilities for campaign objective:
- Sales
- Leads
- Engagement
- App Promotion
- Traffic
- Awareness
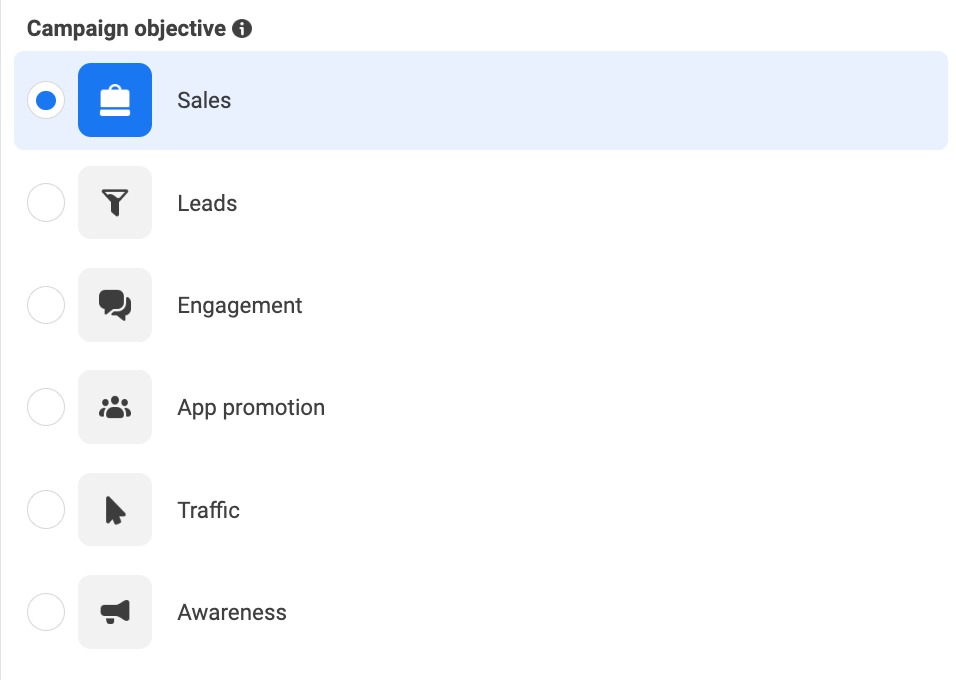
What you select here will effect the optimization options that are accessible to you in the ad package.
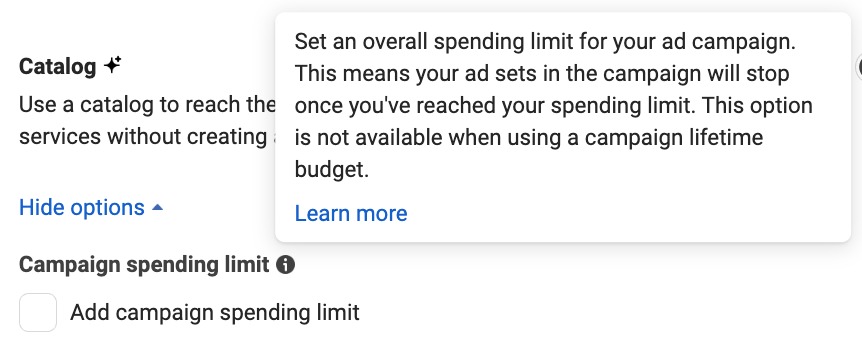
You can set an overall spending limit for your campaign with a Campaign Spending Limit, although that’s not normally suggested. This can create misunderstandings when you run into that limit. In most circumstances, use ad set budgets or Advantage Campaign Budget (coming shortly).
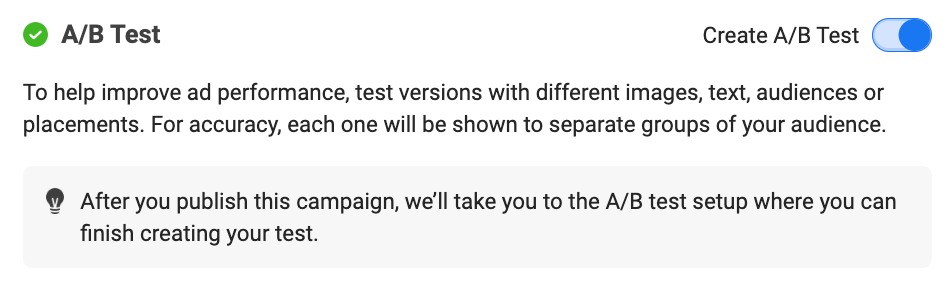
If you’d like to build an A/B Test, you can start that process here. Just understand that you can also select to start it later once you have published your campaign.
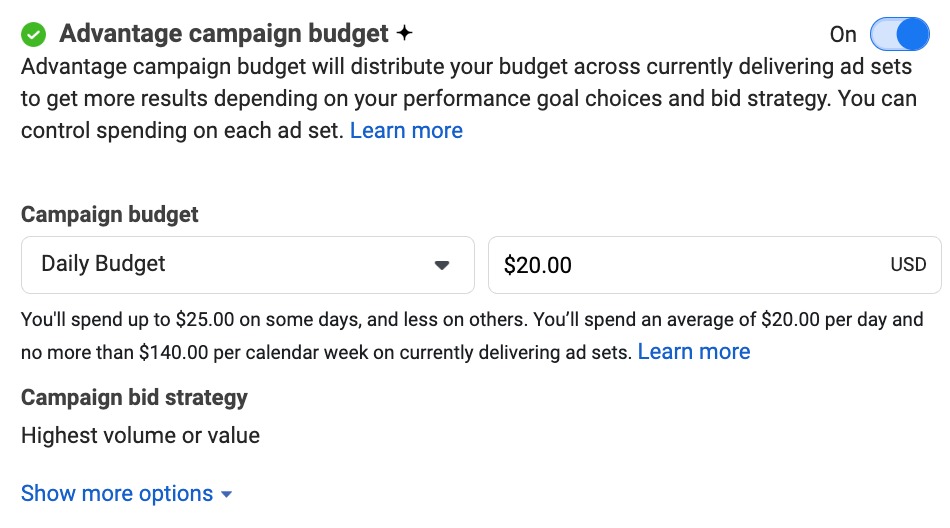
If you’re running many ad sets, you can select to switch on Advantage Campaign Budget. When employed, you will set a campaign budget which will get divided optimally throughout ad sets.
If you are not sure regarding any of these settings that can be operated on, just leave them off.
2. Ad Set
The ad set will focus on the following:
- Ad set name
- Conversion location
- Performance target and attribution setting
- Bid strategy
- Dynamic creative
- Budget and schedule
- Audience
- Placements
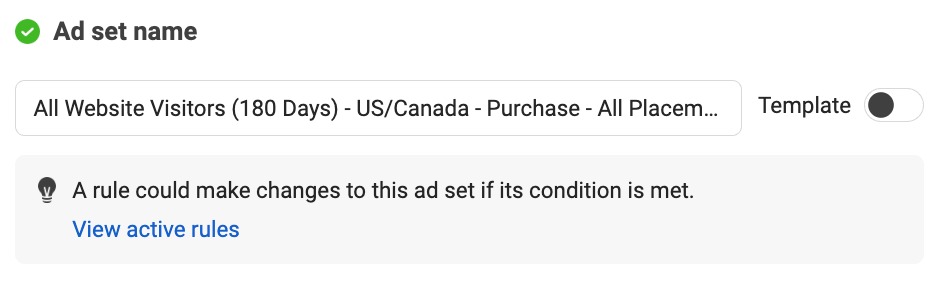
First, name your ad set. As with the campaign name, it is recommended that you use the name to be clear what you are doing within the ad set.
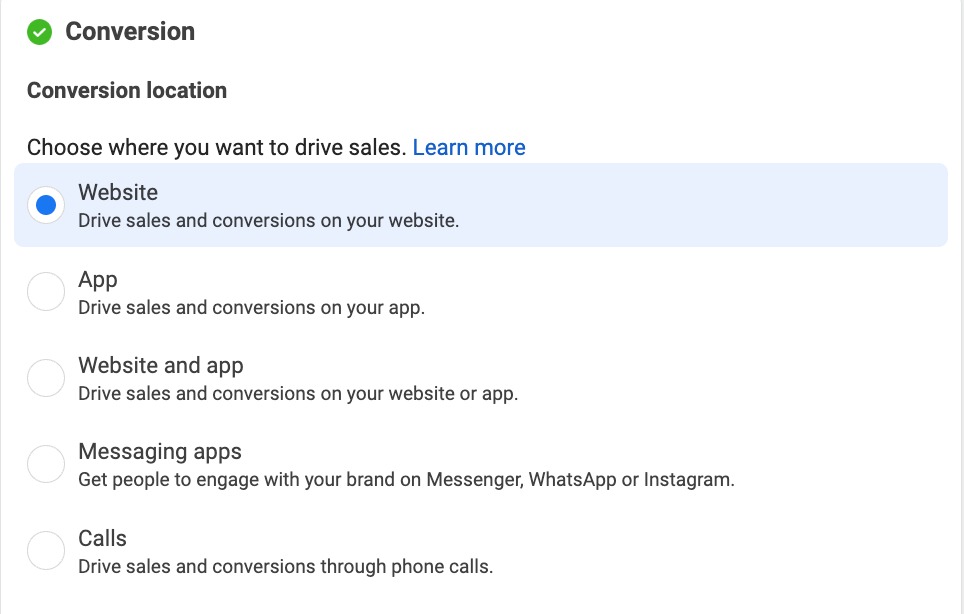
Now set a conversion location. The selections here will depend on the objective you have selected. Once you select a conversion location, it will effect your performance target selections.
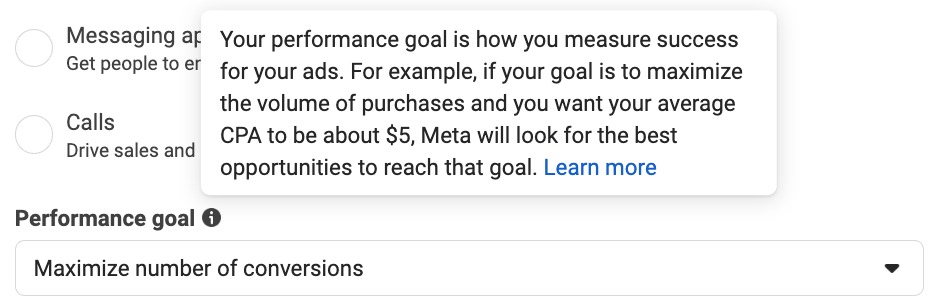
Your performance target is how Meta will optimize ad delivery and measure success. The options accessible here will depend upon the selections you’ve made so far.
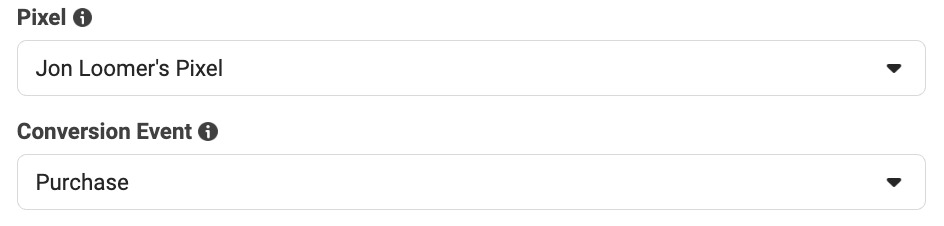
If you’re using the website conversion location, you’ll need to choose your pixel and the exact conversion event.
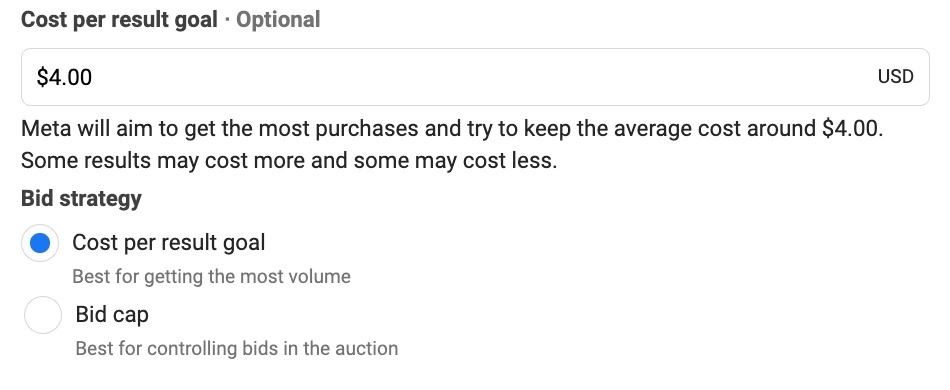
By default, Meta will adopt the Highest Volume bid technique. If you are advanced, you can try out additional bid methods as well.
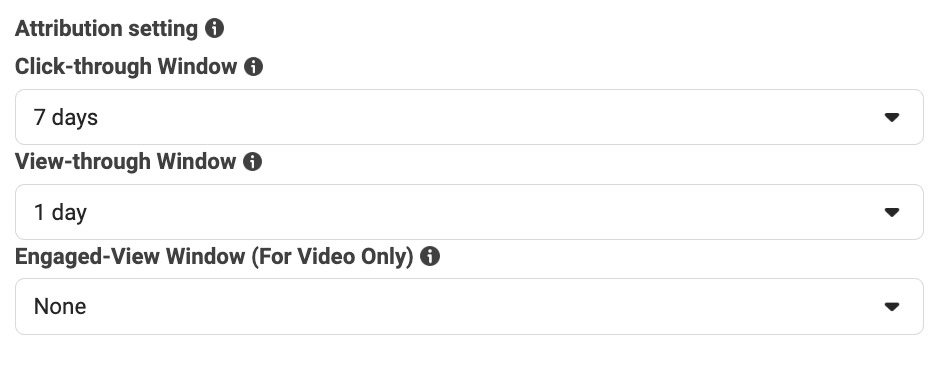
If you chose the website conversion location, Meta will apply an Attribution Setting for determining how conversions are credited to your advertising.
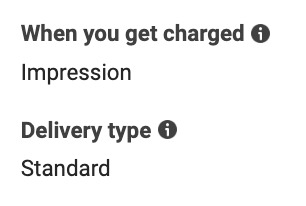
By default, you will be charged by the impression and utilize the Standard delivery option. In most circumstances, these settings can not be modified.
You can switch on Dynamic Creative.

Set a daily or lifetime budget and determine when your advertising will run.

Determine the audience you will reach within the Audience section.
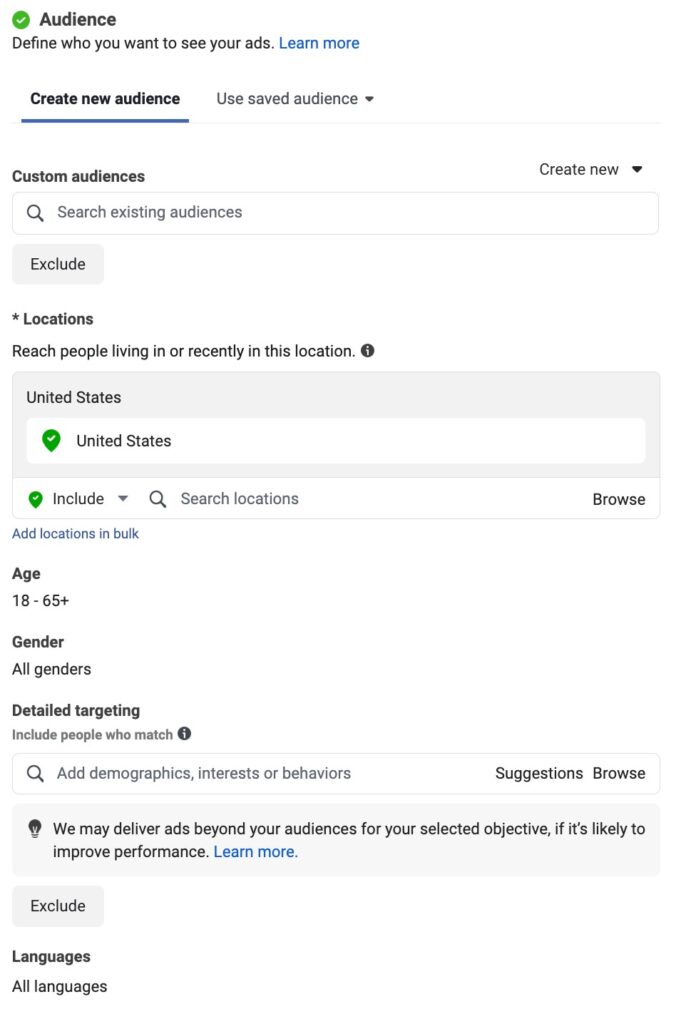
This includes:
- Custom audiences and look a like audiences
- Locations
- Age
- Gender
- Detailed Targeting
- Languages
Read this page for extra details about your targeting possibilities.
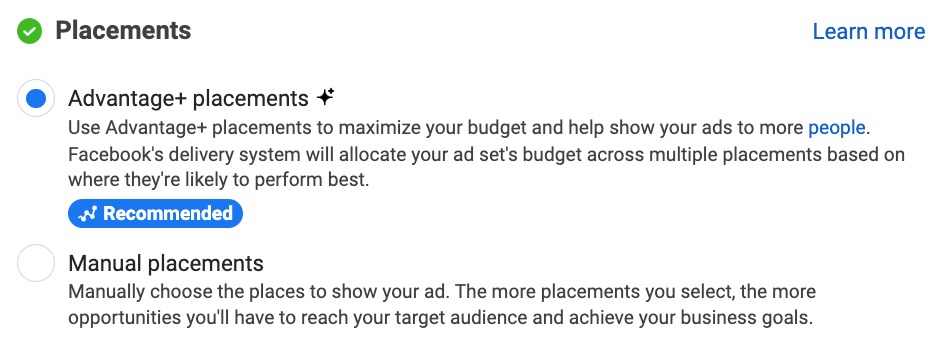
Choose your positions. It’s normally suggested that you employ Advantage+ Placements, although there are exceptions.
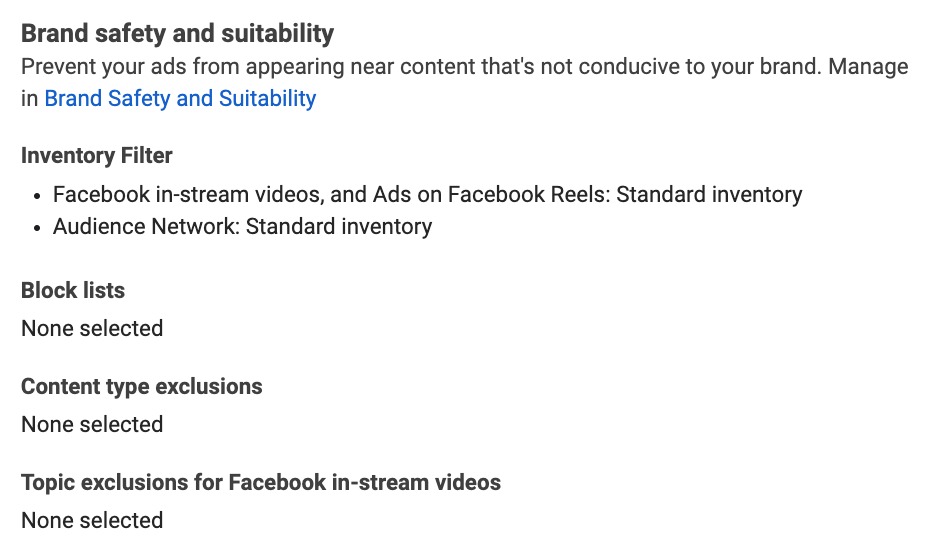
There are some covered Brand Safety and Suitability choices to control where your advertising are exposed. This will not be used in many circumstances.
At Softech Study, we teach how to create high-converting audiences using advanced targeting techniques.
3. Ad
Within the ad, you’ll…
- Name your ad
- Select your Instagram and Facebook page account
- Determine ad setup
- Choose an ad format
- Add copy and creative
- Add a CTA button
- Choose your destination (website, direct experience, or Facebook event)
- Control tracking
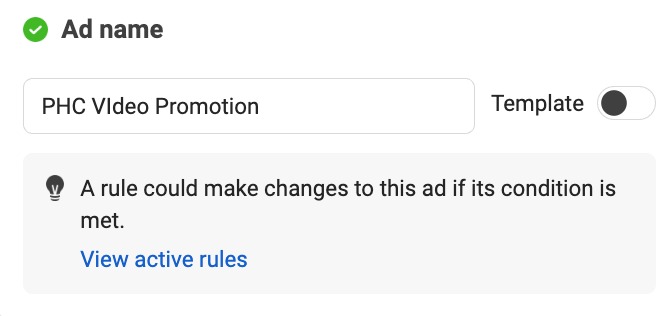
Name your ad.
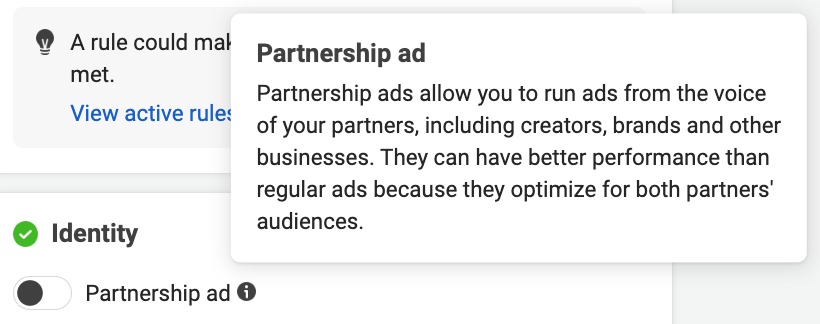
If you are running a Partnership Ad with partners or creators, you will need to state that here.
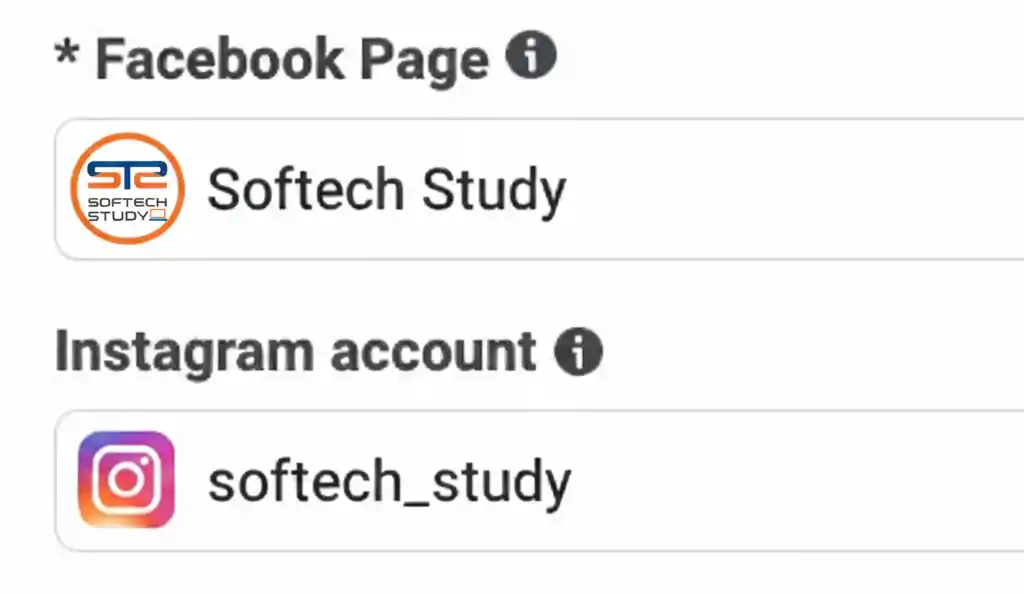
Select your Facebook page and Instagram account for meta ads.
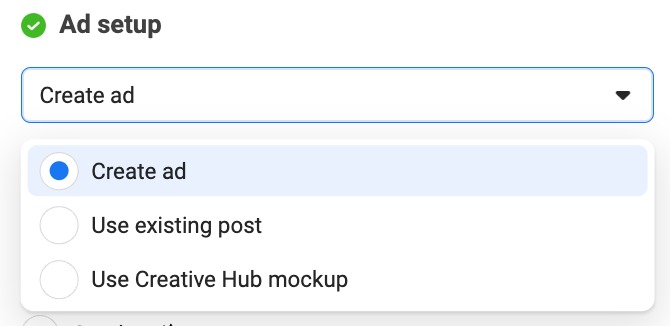
Choose whether to develop an ad from scratch, promote an existing post, or import a Creative Hub mockup.
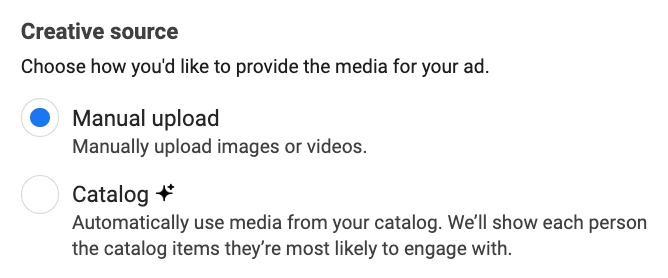
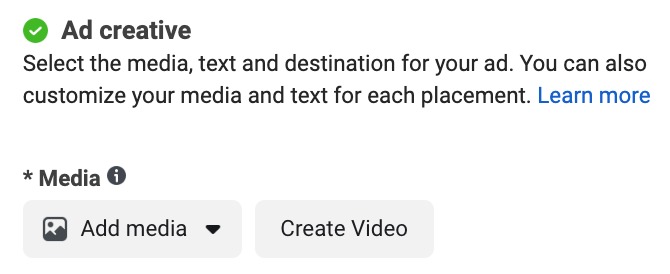
Manually upload your photographs and videos or have them selected from a catalog.
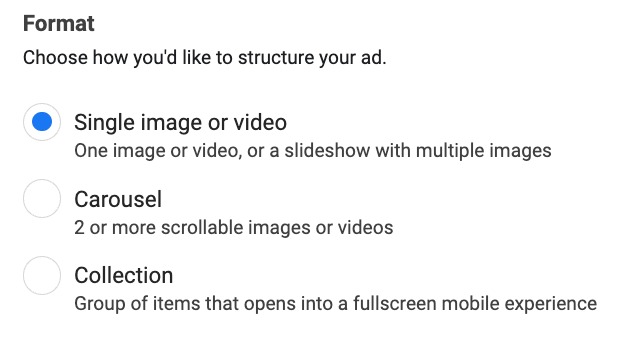
Choose an ad format (single picture or video, carousel, or collection).
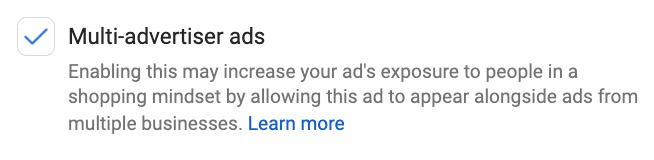
Determine if you wish to opt-in to multiple-advertiser Ads and have your product presented in a carousel with other advertisers’ products.
Add the photo or video you will use for your ad.
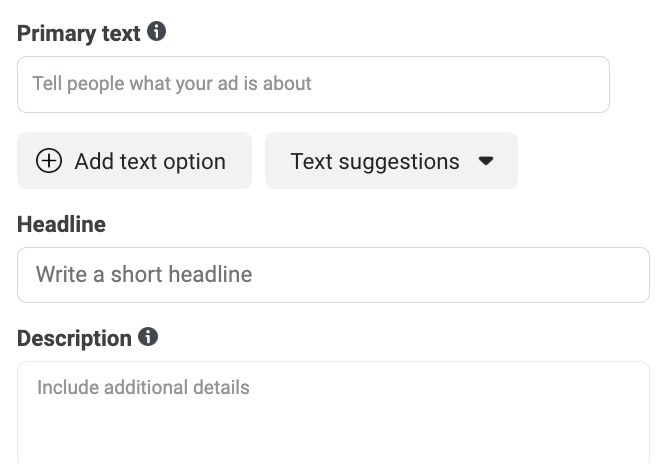
Provide your key material, title, and description. Submit multiple options if you would like.
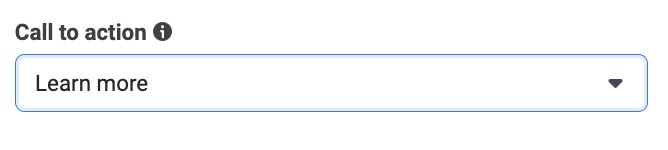
Select a call-to- actions (CTA) button that is suited to inspire action on your ad.
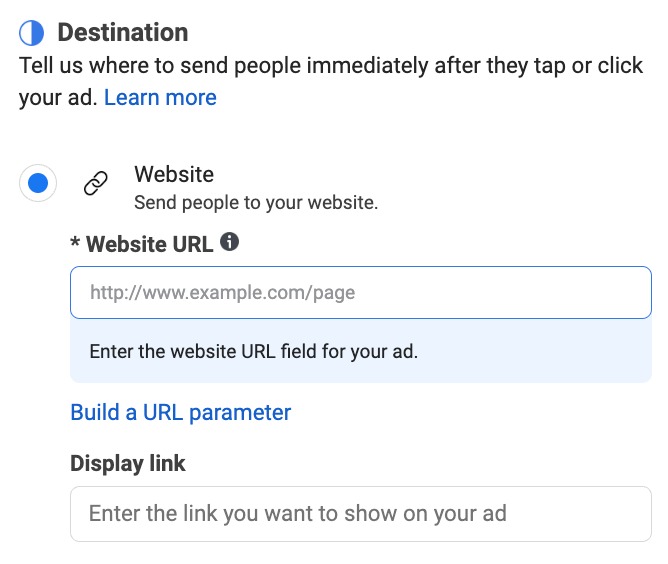
Provide the website URL (where the user will be routed when they click) and display link (the domain that is displayed beside your ad).
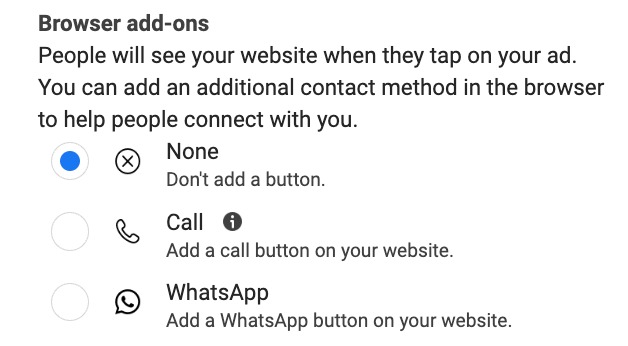
Add a browser add-on like the Call Extension or Instant Form.
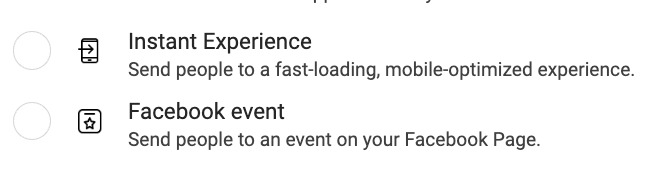
Instead of referring visitors to a URL, you may choose to send them to an Instant Experience or Facebook Event.
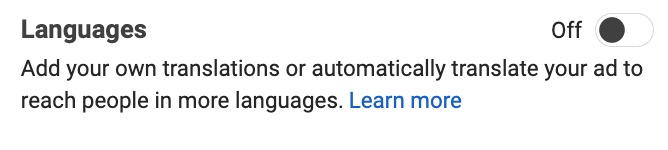
Add manual translations for multiple languages.
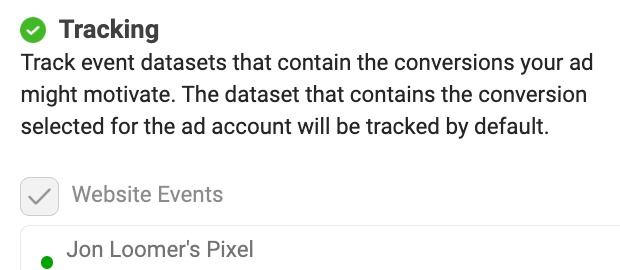
Choose how conversions will be tracked in meta ads (online events, offline events, or app events).
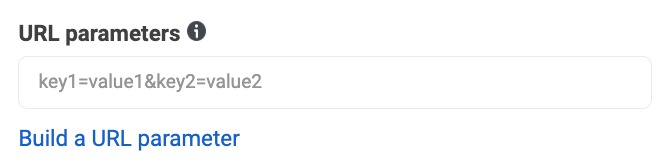
Set link parameters for tracking utilizing external analytics systems.
Your Turn
There’s a lot that goes into creating a campaign, but this should get you started.
Students at Softech Study Digital Marketing Institute learn how to design creatives that improve CTR and conversions.
Creating a successful Meta Ads campaign requires the right strategy, structure, and optimization. At Softech Study, the best digital marketing institute in Delhi NCR, we provide practical training on Meta Ads, Google Ads, SEO, and more to help you build a successful career in digital marketing.
If you want hands-on experience in running real campaigns, join Softech Study Digital Marketing Course in Delhi today.
👉 Enroll now at Softech Study and become a certified digital marketing expert.
Read more blogs about digital marketing on Softech Study – Digital Marketing & IT Training Institute in Delhi NCR.

")

